


")

 Guide")


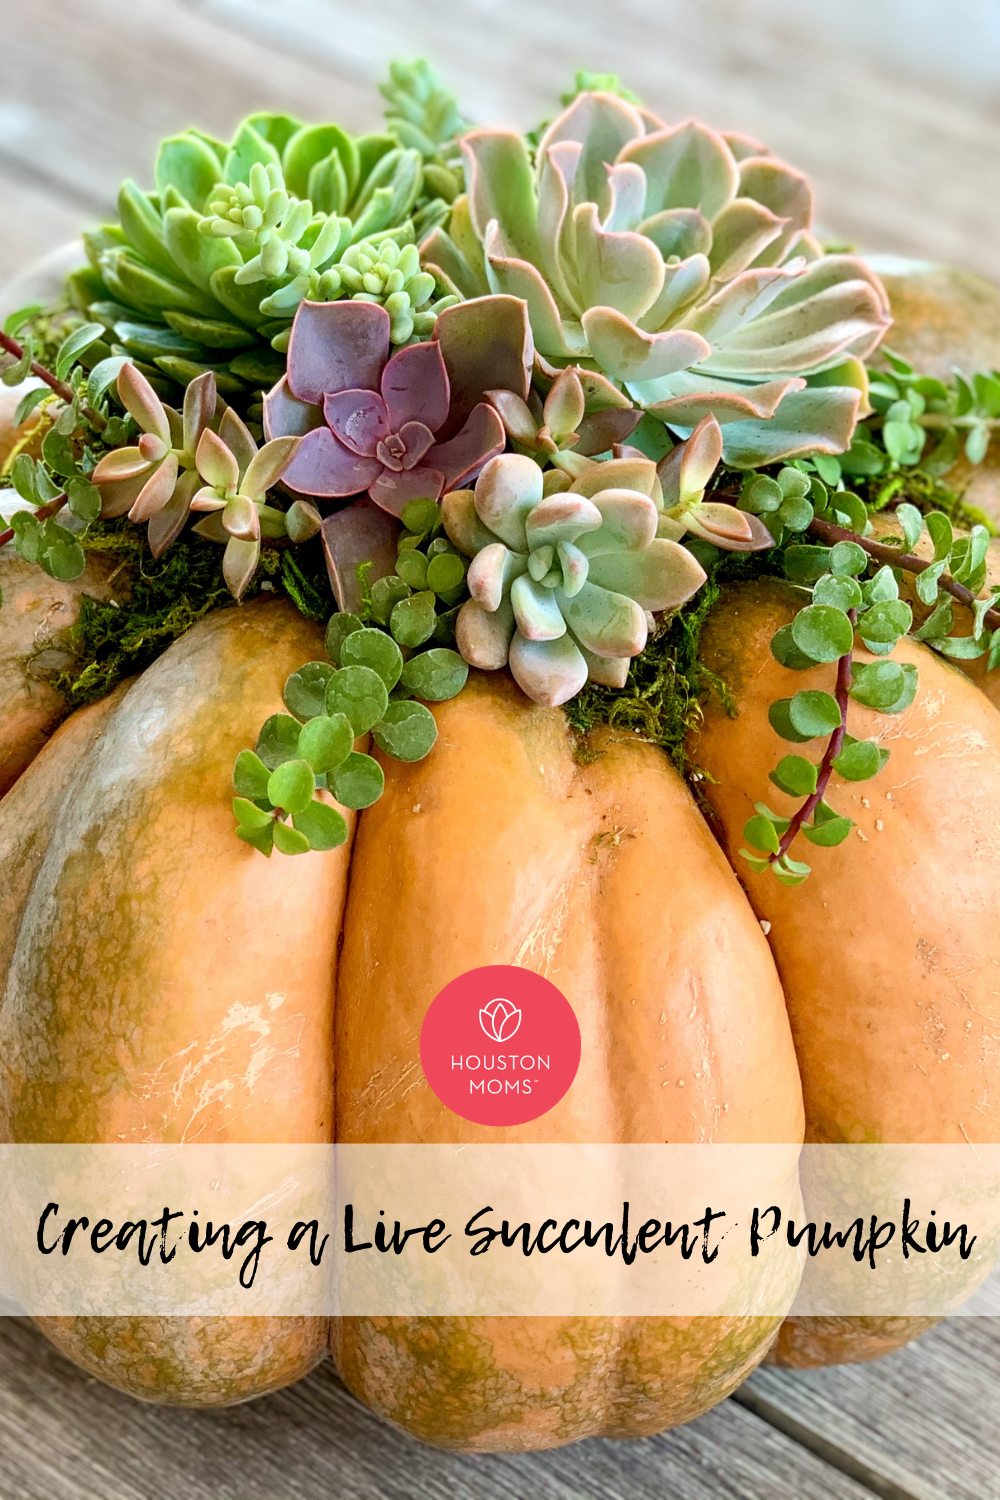
This Halloween, I am combining my love of plants, beautiful things, and the spooky season by creating a live succulent pumpkin. I saw them at the garden nursery last year, and I instantly fell in love. If you are somewhat crafty, these are super simple to create. Now I just need to keep them alive . . .
Supplies
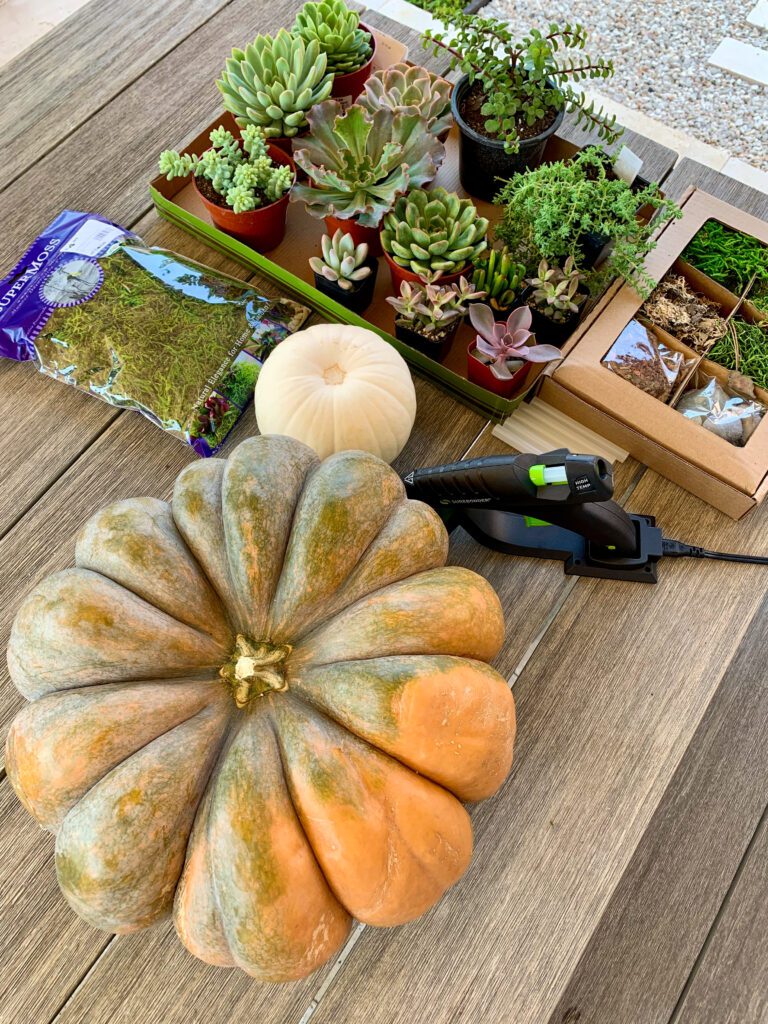
Approximate cost:: $40-$60 {for one similar to the one I created}
- Pumpkin {with a flat or caved in top—Fairytale or Cinderella pumpkins work fabulously}
- Terrarium Moss
- Succulents {for reference, I used 4 standard sized and 3 fairy garden sized}
- Hot glue gun and glue sticks
I purchased my pumpkins at a local grocery store, the moss at a home decor store, and the succulents at a locally-owned nursery that I love visiting. I already owned a hot glue gun and the glue sticks.
Method
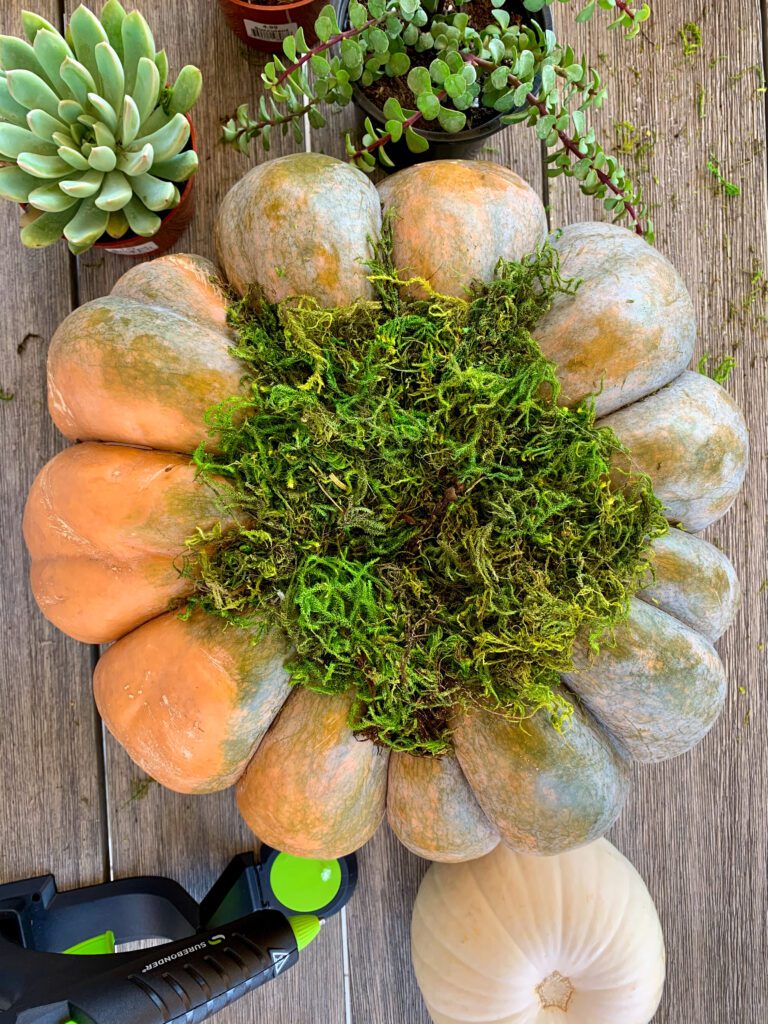
- Wipe down your pumpkin with a damp paper towel to remove any dirt.
- If the pumpkin has a long stem, trim it so that it won’t be seen. DO NOT CARVE THE PUMPKIN. AT ALL.
- Apply a generous amount of hot glue on the top and attach the terrarium moss. The moss will act as the dirt, which will keep the succulents alive.
- Remove succulents from their pots and remove the dirt from the roots as much as possible. {I have seen some people advocate cutting the plants in lieu of this, but I believe it is important to keep the root systems.}
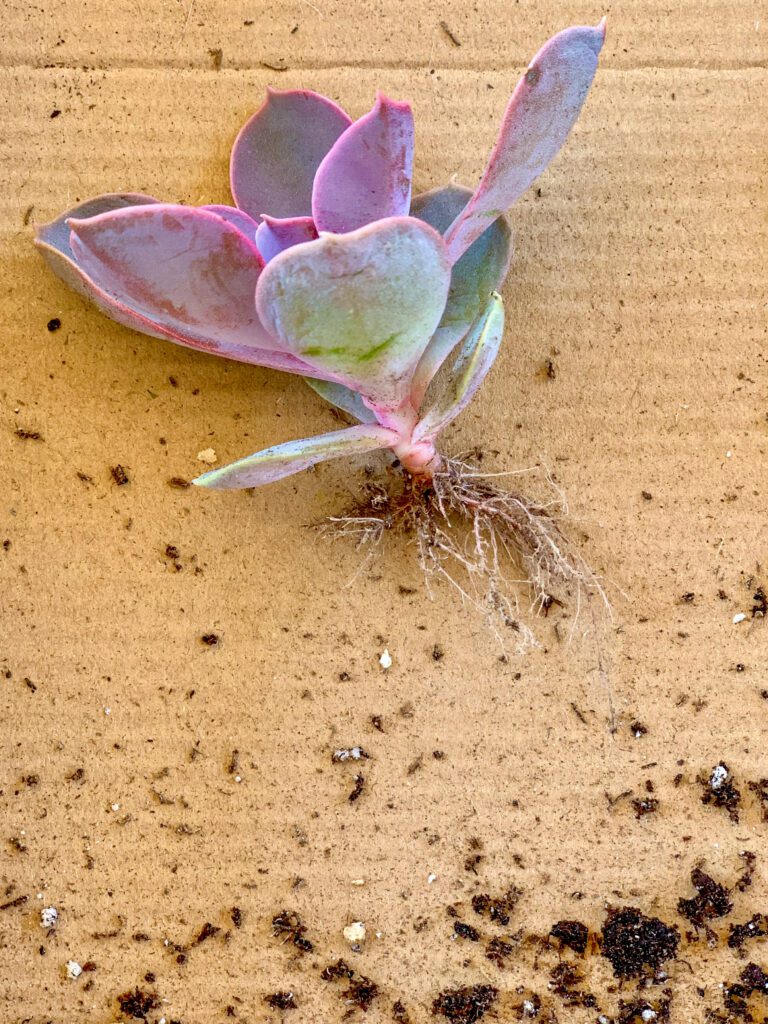
- Starting with the standard succulents, use one that can be divided {I purposely purchased some that had several individual shoots with their own root systems} and attach the individual shoots to create balance. To attach, place hot glue directly on the stem and bury it into the moss.
- Next, place your larger, full-bodied succulents. I like to hold them over the spots I like before applying the glue to be sure everything is visually pleasing.
- After you have these main visual elements established, it is a good time to add the fairy-sized full-bodied succulents to any larger gaps.
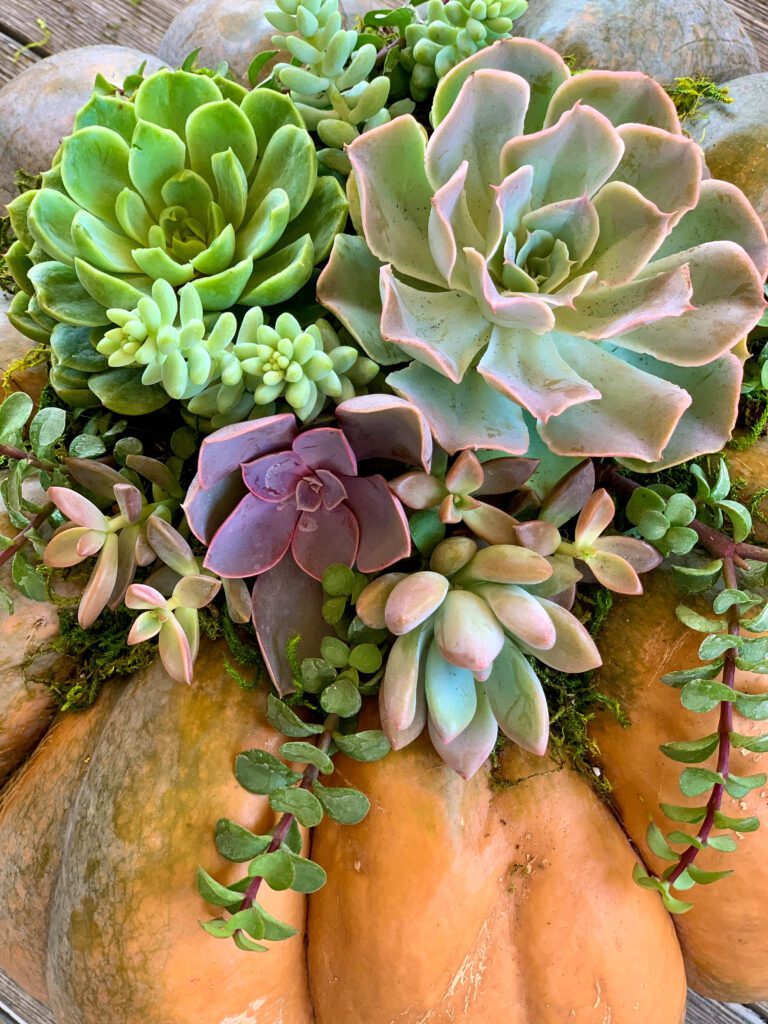
- Add visual interest by adding separated shoots throughout.
- Photograph your creation. Post to Instagram. Tag @houstonmomsblog.
I also created a mini live succulent pumpkin for fun, which is a more economical way to try this out if you’re not ready or able to spend $50. My mini live succulent pumpkin required far fewer plants, and the pumpkin itself was only a couple dollars.
Care

Caring for your new succulent pumpkin is easy. Remember, succulents do like bright light, so do not place your live succulent pumpkin in a dark or drafty area. In the right conditions, your succulent pumpkin can live for 2-3 months, which is all we need to take us to Christmas decorating season, if I’m being honest.
So, once you have determined the best place to display your beautiful and festive creation, you will keep it alive by misting it with water every 5-7 days. Do not drench it, but don’t starve it either.
After Thanksgiving, or whenever you’re ready to stop admiring your live succulent pumpkin, you can transfer it to a pot! If you have a large pot {or a smaller pumpkin}, you can cover the entire pumpkin with soil. {Be sure to choose a sandy soil suited for succulents.} The pumpkin will decompose. If you wish to speed up this process {or you just don’t want to plant a huge pumpkin}, you can cut off the top section and discard the rest of the pumpkin before planting.
Happy Crafting!
Pin this post and be sure to follow Houston Moms Blog on Pinterest!


")

 Guide")
