

")


 Guide")


 {Click image above for more posts in this series!}
It’s 2am at my house. I’ve been battling/comforting a teething one year old for a few hours, and she is finally asleep. But of course – I am wide awake. I can either :: {a} mindlessly surf Facebook & celebrity gossip websites; {b} eat an entire roll of Ritz crackers dipped in butter – Have you tried that? It’s really good!; or {c} do something productive. Laundry. That’s always fun. I only have two kids and a husband, and I feel like I am forever doing laundry. Or you know…starting the dryer so I can “freshen” up the load just so I don’t have to fold it right then.
But seriously, I never thought I would be one of those people who did DIY anything. {So how did I end up with a DIY blog? Well, that’s another story.} But when I learned how to make DIY Laundry Detergent and actually used it, it opened my eyes to how easy it really is to make some of the stuff we spend A LOT of money on. I mean, really – a big box of laundry detergent will run you at least $12 in the store, right? And how fast do you go through that box? Sure, maybe you have “pinned” a laundry detergent recipe on Pinterest or have at least heard about it. But I want to challenge you to try it out! I swear – the DIY version REALLY WORKS. I am a runner. I sweat A LOT. I have a husband who loves to garden and do yard work and two little girls who paint, color, and do just about everything else to stain their clothes. And guess what? This DIY Laundry detergent gets the job done. I also swear by my simple DIY fabric softener recipe.
Over the past two years I have played around with a few different recipes. I’ll share the ones that work best for me and my family. That’s also the cool part about making your own stuff, you can adjust it to what you need or want {or the type of soap smell you like, for example}.
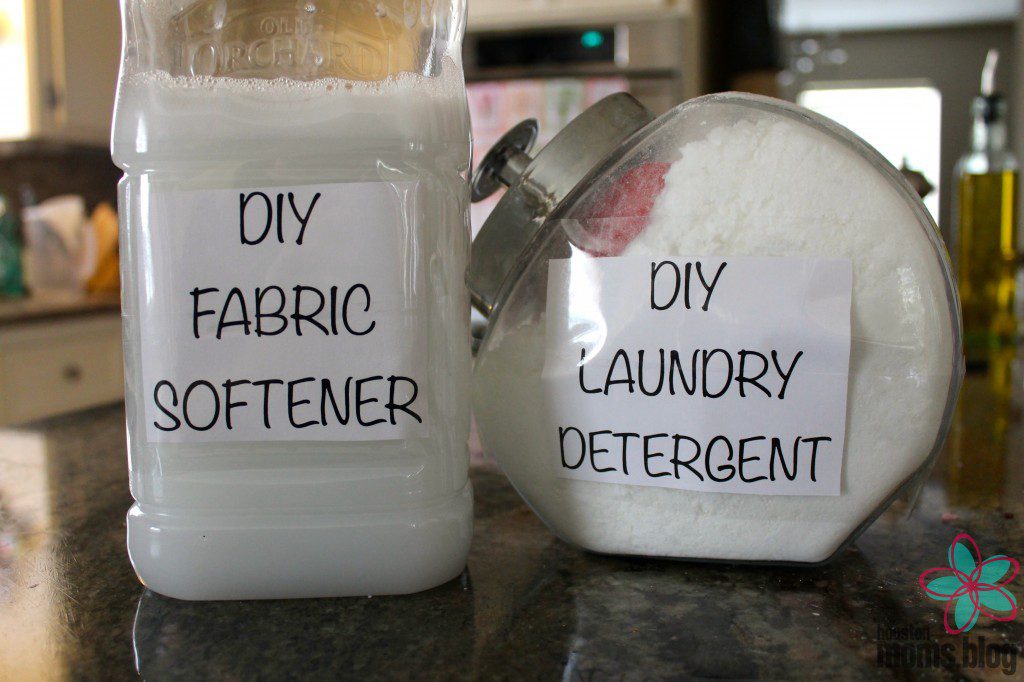
DIY Laundry Detergent
{For use in any type of washing machine.}
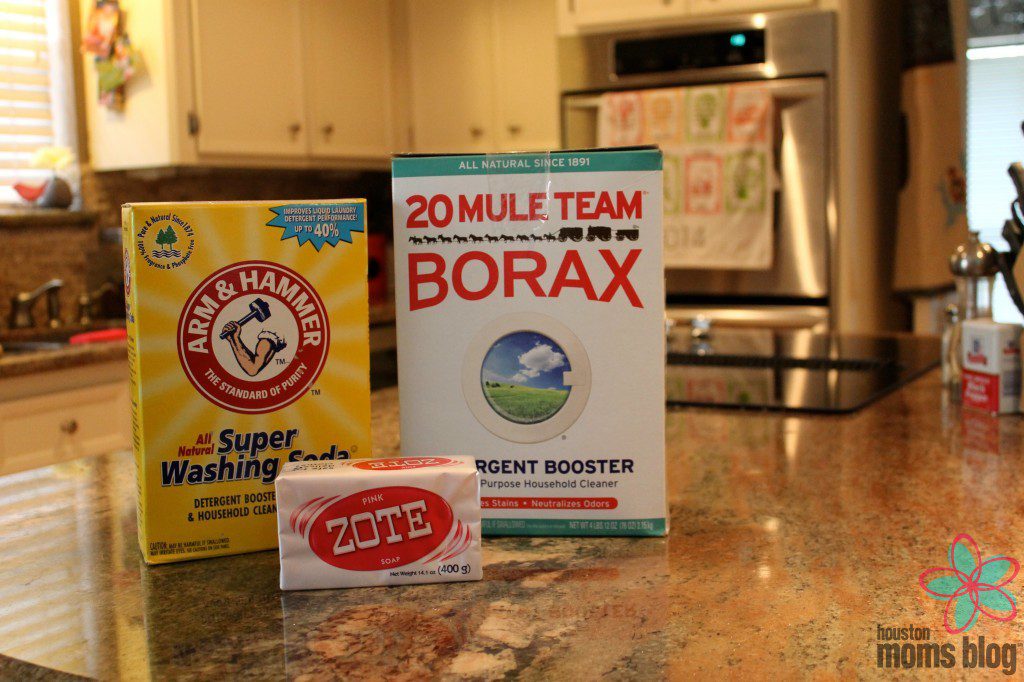
:: Ingredients ::
2 cups Borax
2 cups Arm & Hammer Washing Soda
2 cups of grated soap {I use “laundry” soap because you get a huge bar and it’s $1, but you can use any bar soap you already have. I have tried Dove and that also works great.}
:: Directions ::
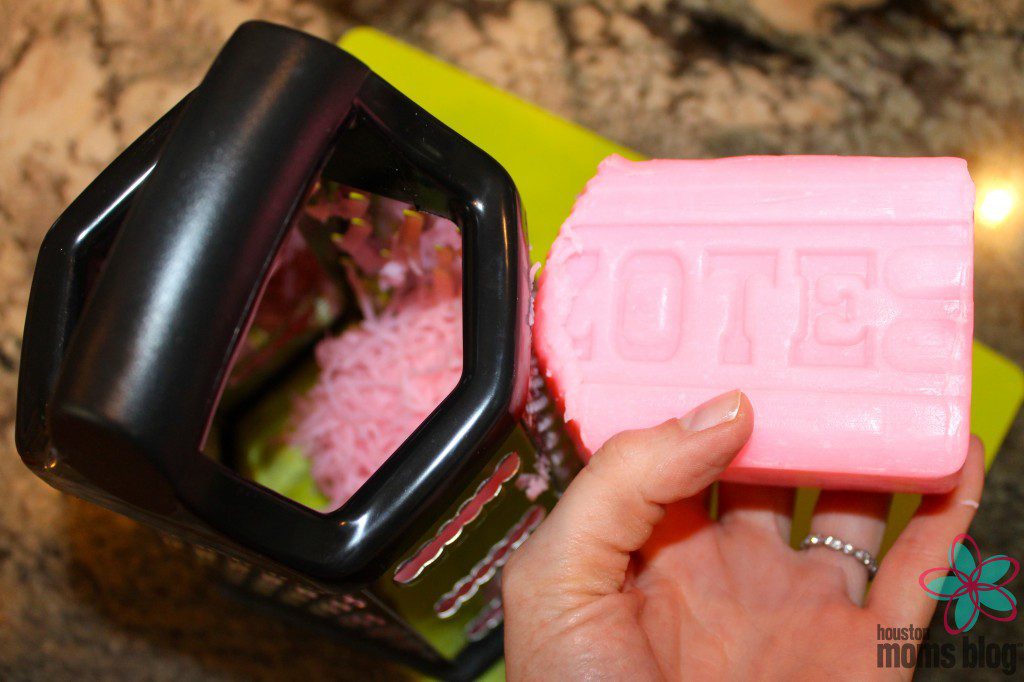
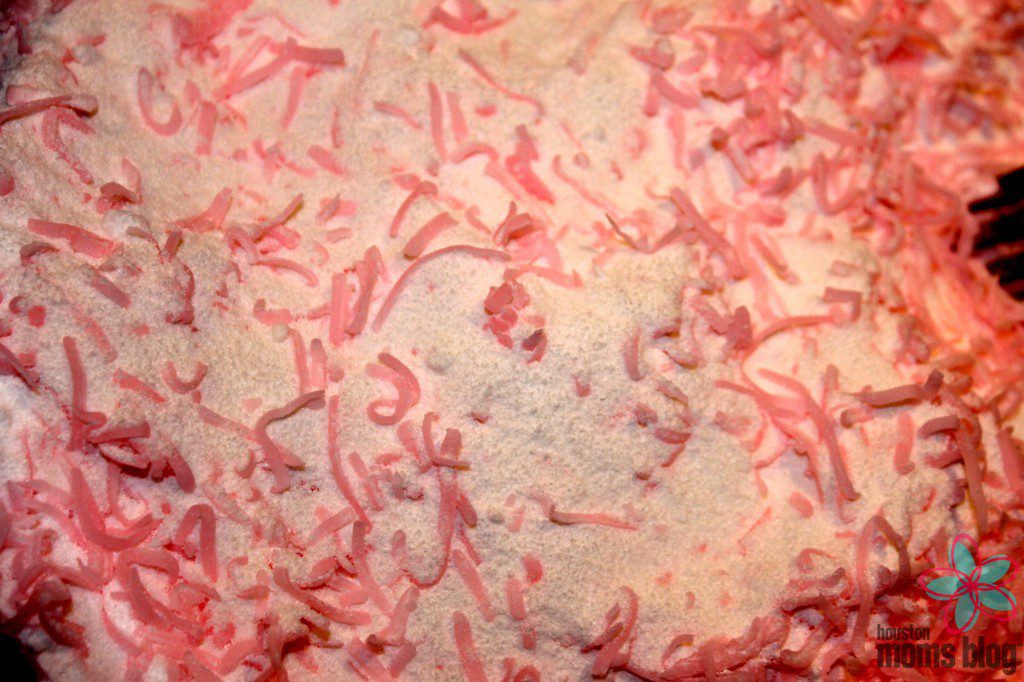
1. Use a kitchen grater to grate up the bar of soap until it is finely ground. Another reason I use the “laundry soap” bar is because it’s huge and way easier to grate up. {You can also put the soap in a food processor to make it very fine. I personally like the larger flakes and pink color.}
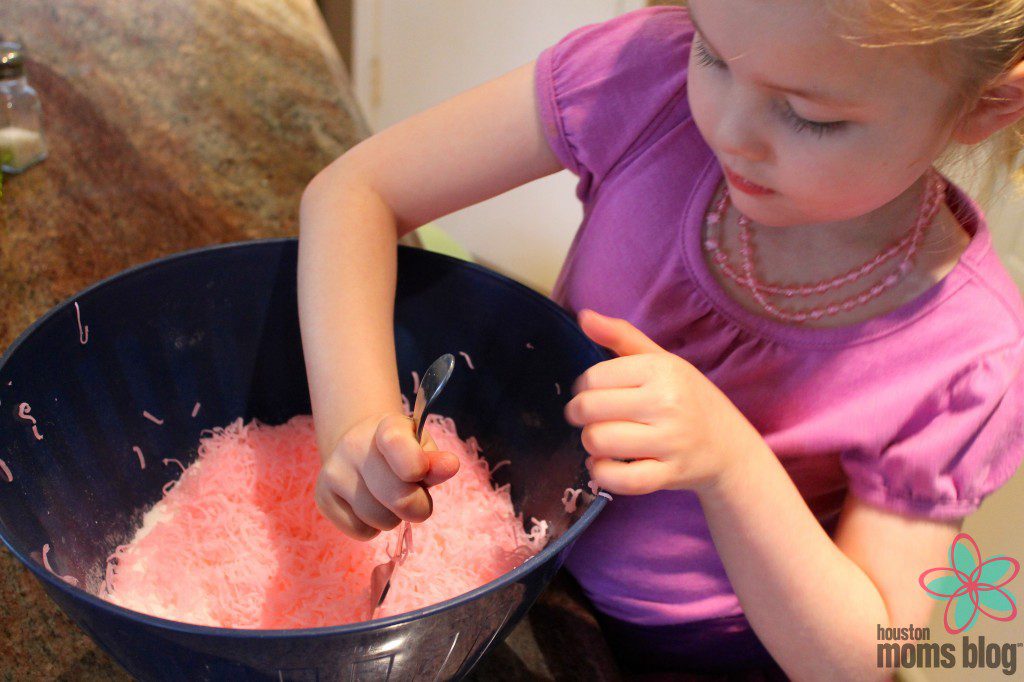
2. In a large bowl, mix together 2 cups Borax, 2 cups washing soda, and about 2 cups of grated soap. It will look like this when you are done…
3. Store in a closed container. For each load of laundry use about 1/4 cup of your detergent mix. I have a front loader, so I just put the mix right in with the clothes before I shut the door.
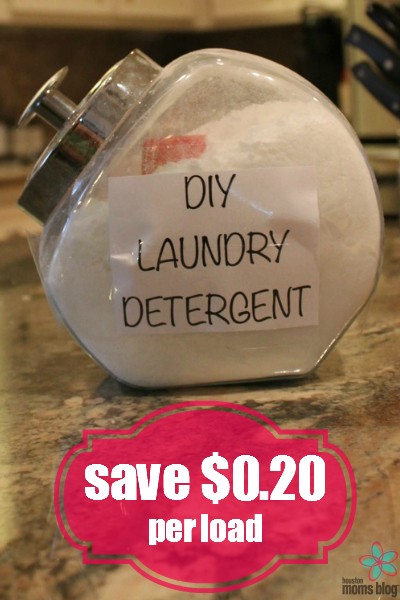
DIY Laundry Detergent :: 5 cents per load
Store Bought Laundry Detergent :: 25 cents per load
YOU SAVE 20 CENTS PER LOAD!
{ Bonus :: This laundry detergent is GREAT for sensitive skin and baby clothes too! }
Since you now have a box of Borax in your home, you can use it for a lot of other cleaning projects around the house!
:: Additional Borax Uses :: {These directions and more are right on the box!}
- Stained toilet bowls – sprinkle Borax powder on toilet stains, let it sit for a few minutes, and scrub it right off
- Stinky garbage disposals – sprinkle 2-3 tablespoons in the garbage disposal, let it stand, and flush with water
- Rug stains – dissolve a few tablespoons of Borax with water. Sponge on, wait about 30 minutes, and rinse well
DIY laundry detergent cleans, but even with the scented soap you may use it doesn’t have a “strong” smell like some of the store bought versions do. You can add DIY fabric softener to the wash to make it smell amazing and soften the load. And it’s super cheap too!
DIY Laundry Fabric Softener
:: Ingredients ::
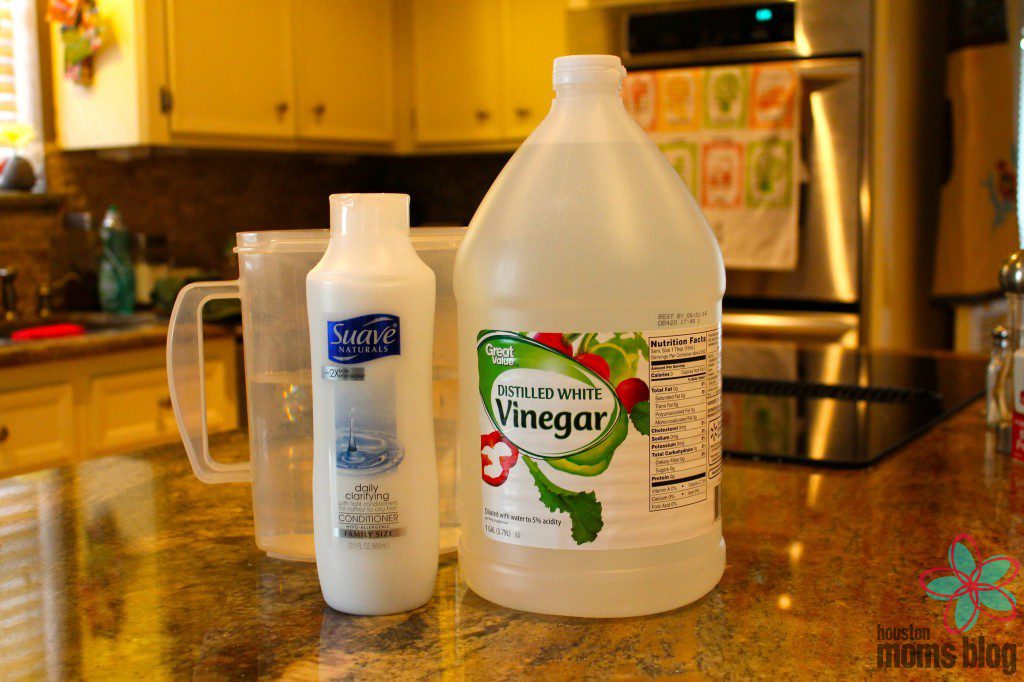
3 cups water
1 1/2 cups white vinegar
1 cup of hair conditioner {You can use any conditioner. I go by price and smell. This Suave conditioner makes the clothes smell amazing, and it’s only $1 per bottle.}
:: Directions ::
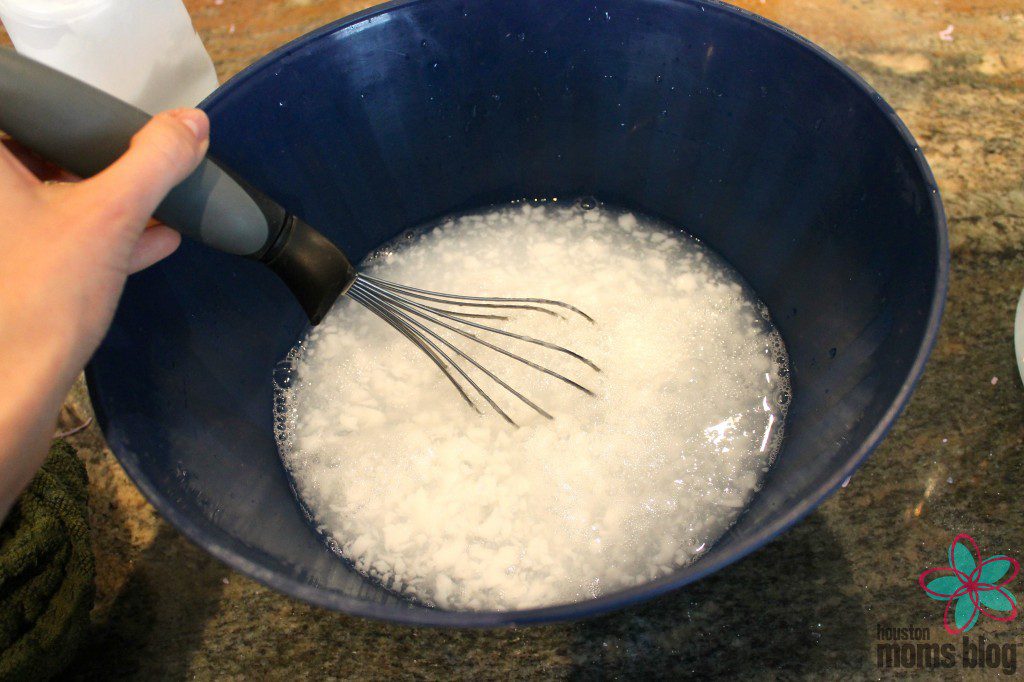
1. Add together the water, white vinegar, and conditioner in a large bowl.
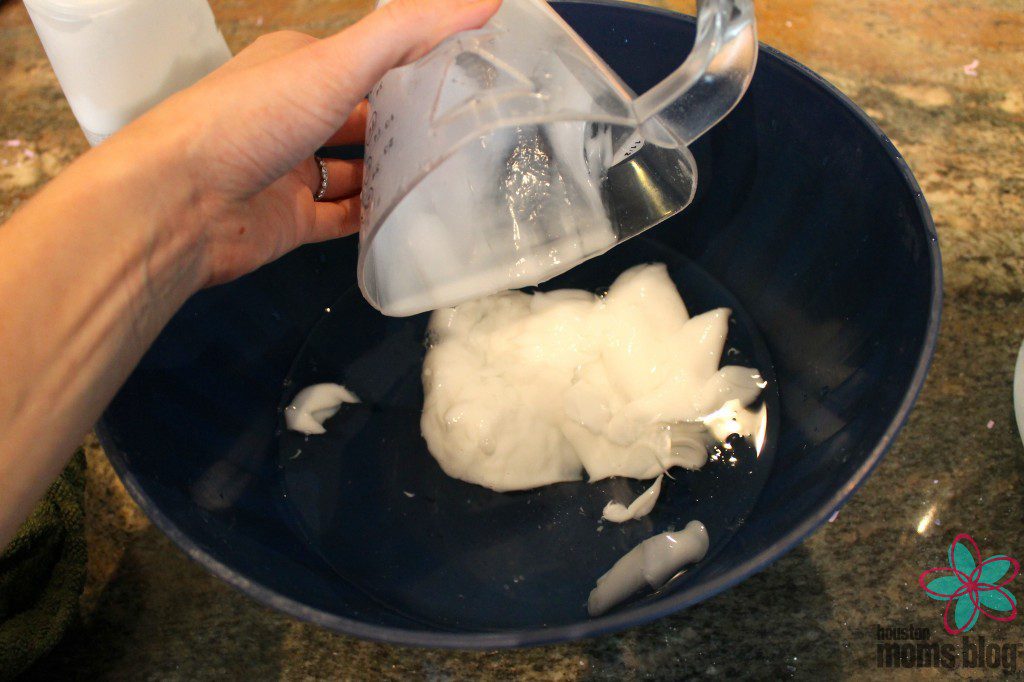
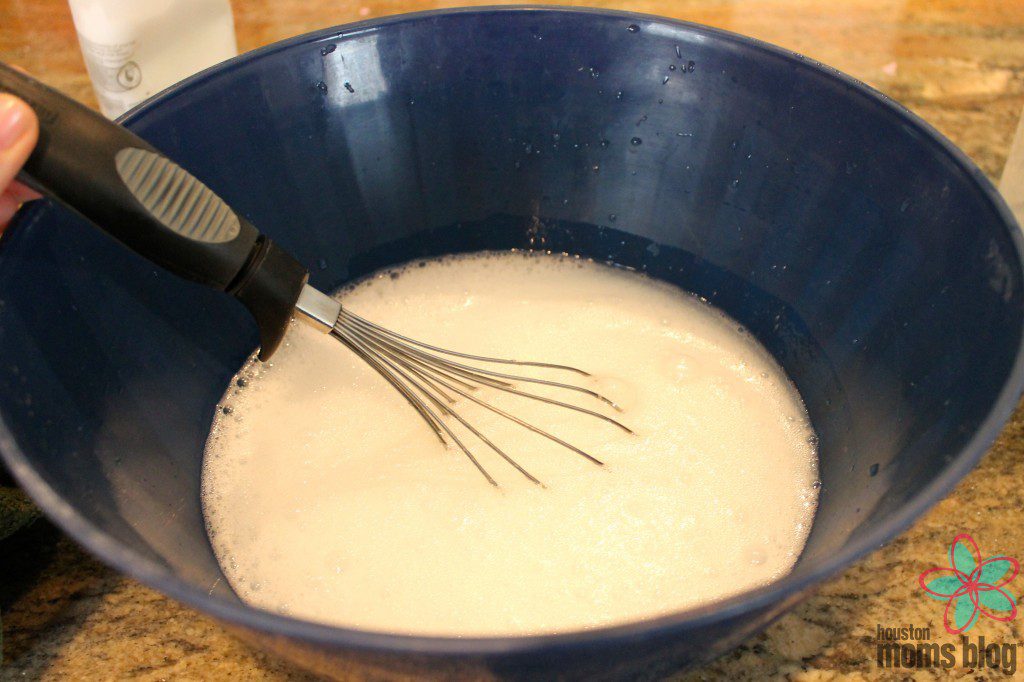
2. Whisk it good! At first the conditioner will be pretty clumpy.
Using the whisk, it will come out very smooth. {Don’t put it in a container and shake it up – it will be a soapy mess!}
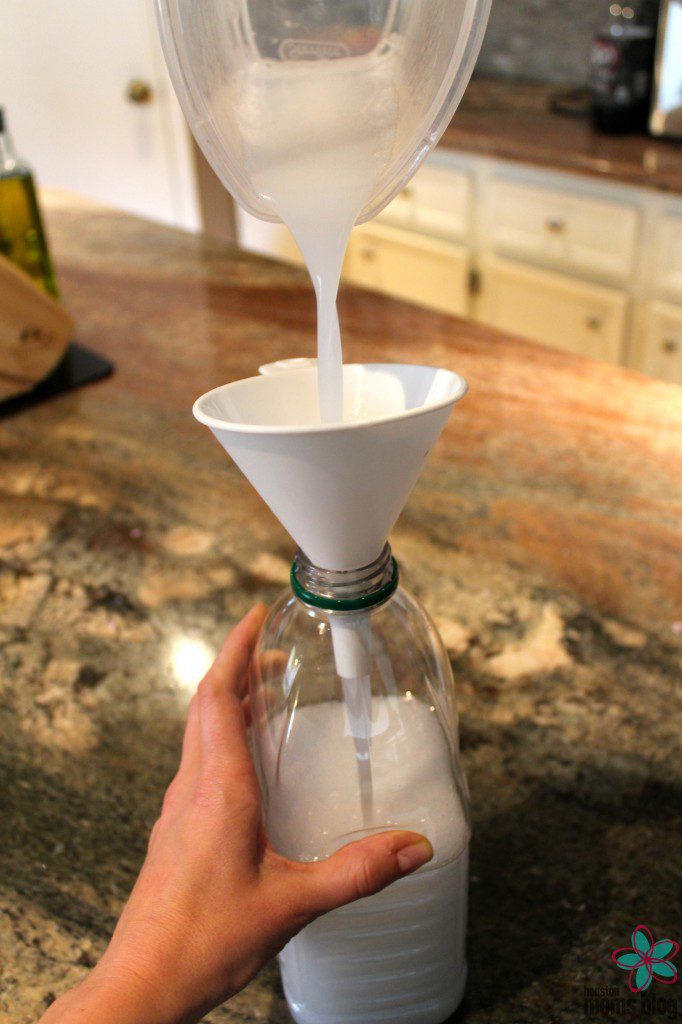
3. Put the fabric softener in an old juice container.
4. Pour about 1/4 cup of the mixture into each load. I put it directly into the “fabric softener” dispenser on my washing machine, but I have also heard you can put this in a spray bottle and spray it on a washcloth and throw it in the dryer with the clothes.
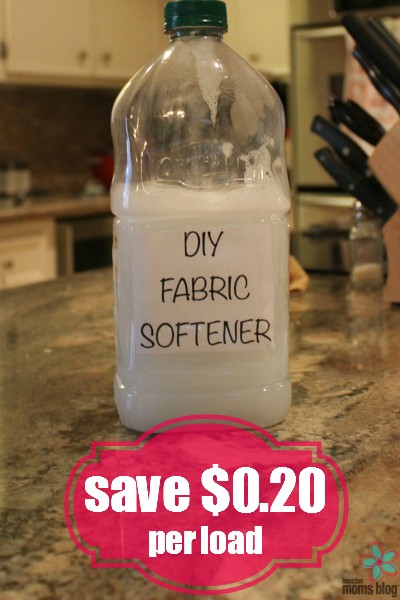
DIY Fabric Softener :: 5 cents per load
Store Bought Fabric Softener :: 25 cents per load
YOU SAVE 20 MORE CENTS PER LOAD!
So let’s say you have read the above and are still not sure about making your own cleaning supplies…then at least try this. A basic/simple cleaner that has been used for generations.
DIY Everyday Cleaner
:: Ingredients ::
vinegar
orange peel
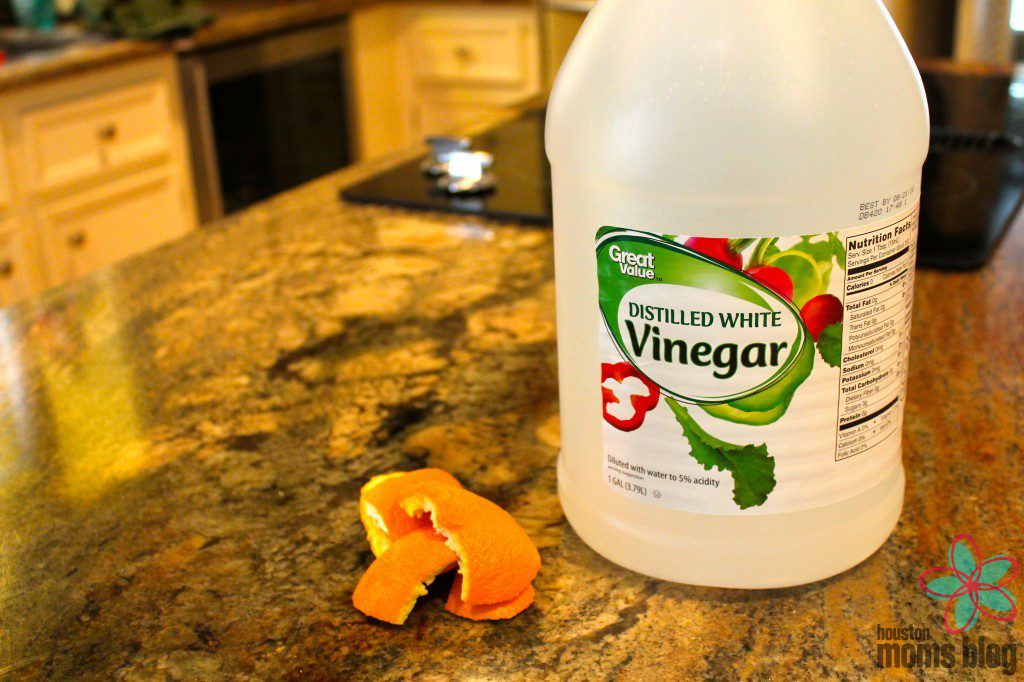
:: Directions ::
Let the peels and vinegar soak for about 2 weeks. The result – an amazing smelling cleaner that costs you practically nothing! I use this on my countertops, sinks, and floors…and for quick cleanups around the house.

DIY Everyday Cleaner :: 2 cents per ounce
Store Bought Everyday Cleaner :: 10 cents per ounce
YOU SAVE $3.20 PER BOTTLE!
Okay, if you are reading this and thinking…”These ideas are great, but who has time to do this? Why even go through the trouble?!” Well, I used to think that too about these sorts of home recipes. Even if you don’t care about the money saving aspect of it, just making things you use everyday is empowering. I have always said crafting {or mixing up recipes, etc.} just makes me feel better. It doesn’t take as much time as you might think either. I whipped up all of the recipes for this blog post in about 30 minutes. That is also with my 4 year old at my feet asking if she could help every 15 seconds. {She’s now watching the iPad and eating Goldfish – thank you technology!}
If you are in major Spring Cleaning mode, be sure to check out the other cleaning tips and tricks in this series or my pantry reorganization without buying a crap load of tupperware post on my blog, Spilled Milk DIY, where I talk about making your pantry look great by using items you already have in your home.
Let us know if you try out any of these recipes!
[hr] Please Note :: We are so thankful to have Kid to Kid Houston Galleria sponsoring our ‘Spring Cleaning :: Out With the Old, In With the New’ series! As you are deep cleaning and decluttering your house this spring, we encourage you to check out their amazing resale store down in the heart of Houston. While there, you can sell all of your unwanted kid’s stuff…and then buy the things that you need!
Kid to Kid Houston Galleria
1737 Post Oak Boulevard
Houston, TX 77056
713.622.2545


")


 Guide")
